When GenNet first starts, it uses IP multicast to find existing instances of GenService:
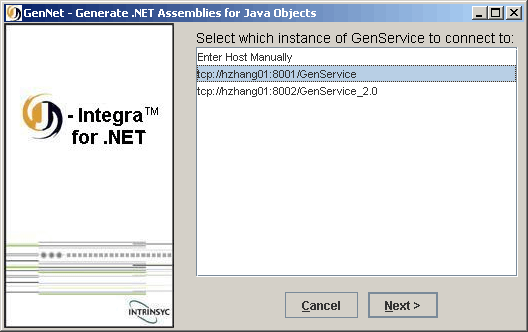
Note: Select "GenService" instead of "GenService_2.0", only if:
- Both Frameworks, 1.X and 2.0 are installed
- The generated .NET assembly should target the .NET Framework 1.1
For details of the two GenService versions, please refer to the section Multiple Versions: Genservice & GenService 2005 in the GenService section.
Select an instance and click Next>.
If, for whatever reason, multicasting is unavailable on your network, then GenNet will fail to find any instances that aren't running locally:
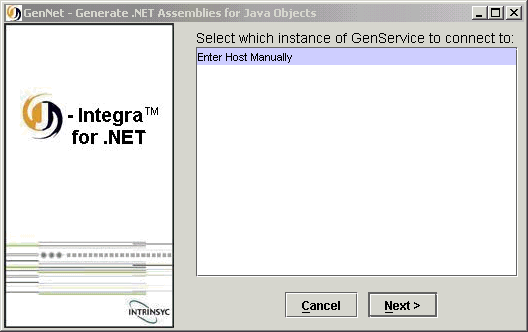
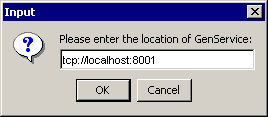
If you select Enter Host Manually and click Next>, you will be prompted to manually enter a URI where GenService can be found. You should enter the following URI and click OK:
tcp://[GenService machine]:8001
The next screen prompts for the components (JAR files or directories) to be added to the CLASSPATH. These components will be required by the Java runtime to resolve references to Java classes.
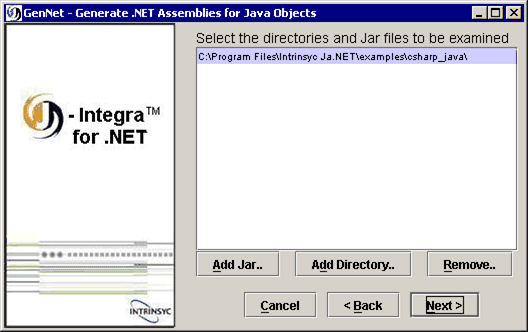
| Action | Description |
| Add Jar... | Launches the file browser dialog to add JAR or ZIP files to the CLASSPATH. |
| Add Directory... | Launches the file browser dialog to add directories to the CLASSPATH. No files will be displayed. |
| Remove... | Removes an entry in the list of components. |
The next screen prompts for the specific Java classes that will have .NET proxies generated for them. This is where the components added to the CLASSPATH in the previous step are used to resolve references to the Java classes.
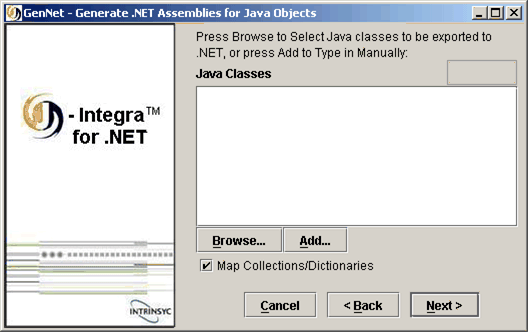
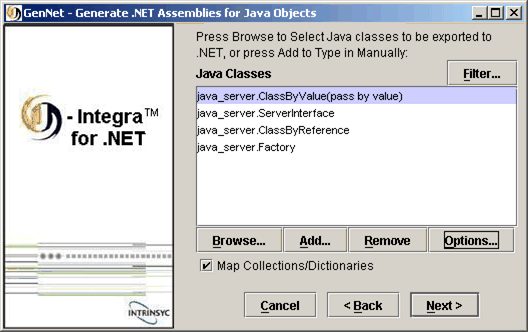
Click Browse... or Add... to add your Java classes. Once one or more classes are added, the following options will appear:
| Action | Description |
| Filter... | Launches Filter Referenced Classes. |
| Browse... | Launches Browse Classes. |
| Add... | Launches Add Java Class. |
| Removes... | Removes a selected entry. |
| Options... | Launches Java Class Options. |
| Map Collections/Dictionaries |
If this option is checked, when generating Java proxies, GenNet will generate currently available mappings when encountering types from the java.util package. For example, for java.util.Vector, it will generate System.Collections.ArrayList. However, this implies that such types passed as parameters will always be marshalled by value. If this option is not checked, then GenNet will generate the normal remote proxy type so that there is no mapping. This implies that such types passed as parameters will always be marshalled by reference. This must be used in conjunction with the Map Collections/Dictionaries option in Janetor. |
GenNet will not only attempt to generate proxies for the listed Java classes, but also other Java classes that are referenced. The list of classes to generate could be huge, and more likely than not, you will not need to access so many Java classes from the .NET client. To solve this, GenNet provides a way for you to manually select which classes you want to be filtered out from proxy generation. Click Filter... to show:

In the screenshot above, for example, we can see that all classes from java.util will not have a proxy generated for it except for java.util.Enumeration.
Note: Be careful with filtering out types - if you filter out a type that is used as a return type of a method, GenNet will skip generation of the method altogether.
Instead of adding manually, GenNet provides the option of browsing the classes found in the CLASSPATH and selecting which of these classes to generate proxies for. Click Browse... to show:
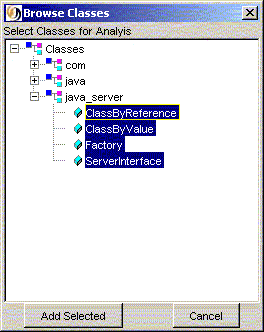
Use the CTRL or SHIFT keys to select more than one class. You can visually select the classes and click Add Selected. For each class selected, you will see an entry in the list of Java classes to generate proxies for:
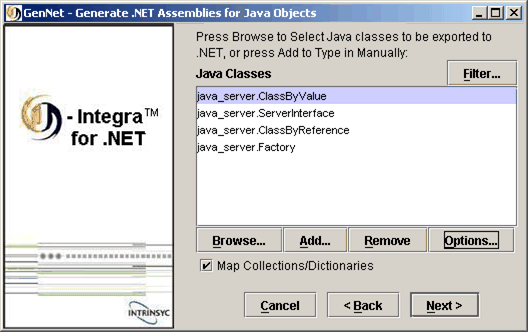
You can alternatively enter the Java class manually - the full package name must be included also. The OK button is only enabled when GenNet finds the class in the CLASSPATH, otherwise, it is disabled. Click Add... to show:

If you are not sure of the class name, it is best to browse for it instead.
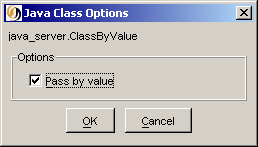
For Java classes that implement java.io.Serializable, there is the option to marshal that class by value. All public/private/protected fields will be generated, along with get/set methods. For such classes, click Options... to show:
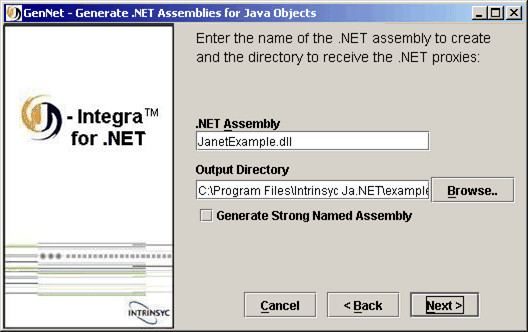
The name of the assembly (without the DLL extension) must match what was entered in Assembly Name of the Activation tab under the Local Objects category in Janetor.
The Browse... button will be disabled if GenService was found to be remote rather than local to the machine that GenNet was launched from.
| Action | Description |
| Generate Strong Named Assembly |
Generate a strong named assembly. Strong named assemblies are required when installing assemblies in the GAC to be referenced by COM+ (for example). See Strong-Named Assemblies for more details. |
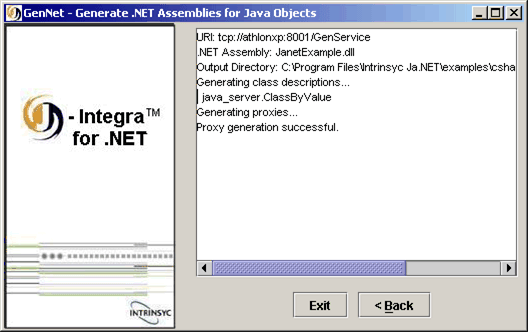
The final screen shows the output of the generation, and if there were any errors encountered:
