On the CDO host machine, you need to either install MS Outlook or install the standalone version of CDO packaged with a MAPI client. CDO uses the MAPI subsystem as the underlying architecture to facilitate communication with Microsoft Exchange. If you choose to install MS Outlook, please note that the Outlook COM Object will not be used to access the Exchange Server. The main reason for installing Outlook instead of the standalone version of CDO is if you want the Outlook application to be available for regular use.
regsvr32 CDO.DLL

After running regsvr32, you should see a message saying that CDO.DLL has been successfully registered.
setdllhost CDO.DLL "CDO Surrogate"

setdllhost accepts 2 parameters: [dll file] and a [surrogate
name]. In the above example, we are creating a surrogate for CDO.DLL and
calling this surrogate "CDO Surrogate". Make sure to run setdllhost.exe
on the folder where CDO.DLL is located. To remove "CDO Surrogate",
run as follows:
setdllhost /unregister "CDO Surrogate"

The main DCOMCNFG window varies depending on the version of Windows operating system you are running. The following steps are applicable to Windows 2000 or earlier verions. If you are using Windows XP or Windows Server 2003, click Start, click Programs, click Administrative Tools, click Component Services. Expand Component Services, expand Computers, and right-click My Computer. Select Properties.
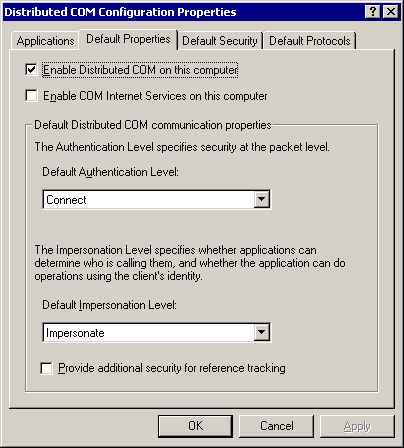
6.1 On the pop up window, click on the Default Properties tab and put a check mark on Enable Distribute COM on this computer. Choose Connect as the Default Authentication Level and Impersonate as the Default Impersonation Level. Click on Apply.
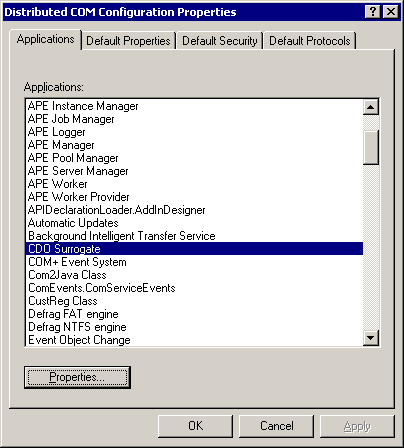
6.2 Click on the Applications tab, choose CDO Surrogate and click on Properties.
On Windows XP or Windows Server 2003, expand Component Services, expand Computers, expand My Computer, and click DCOM Config. Right-click on the application you wish to configure. Select Properties.
6.3 Under the General tab, set the Authentication Level to Connect

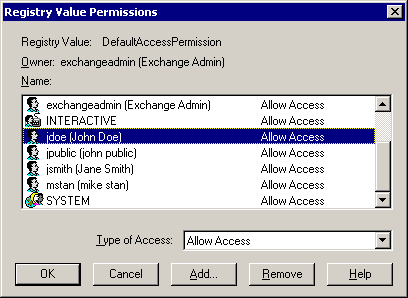
6.4 Click on the Security tab. Select "Use custom access permissions" then click on Edit. From the Registry Value Permissions window, add the Java-Exchange user account you created in step 1. In the example below, this user account is "John Doe".

6.5 Still on the Security tab, select "Use custom launch permissions" then click on Edit. Add the Java-Exchange user to the list, just as you did in the previous step. Click on Apply.
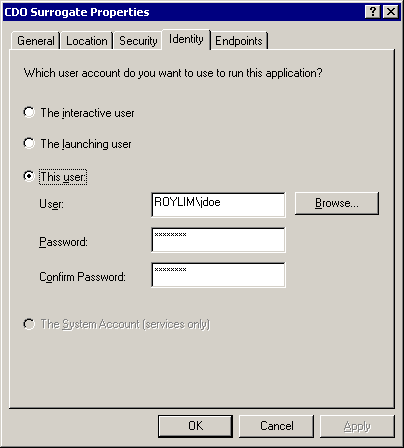
6.6 On the Identity tab, select This user and input the credentials
of the Java-Exchange user. Make sure that you enter the correct values.
The safest way to do this is to use the Browse button to select the Java-Exchange
user. In the example below, our Java-Exchange user - jdoe - belongs to
the ROYLIM domain.
Note: This account must have local administrative rights to the CDO machine.