Copy the provided ExcelCalculatorJSP.html, and ExcelCalculatorExample.jsp
files into a local directory that will be the target directory of your deployment.
These files are included in your jintegra\examples\servlet-com\ServletToExcelCalculator
directory when you download J-Integra®.
Sharing Library Files
The application server needs to know where it can find the classes referred
to by the JSP. If you want to share these jar files among other servlets and
JSPs, JRun allows you to specify the path to the java library files that they
use. In this section you will learn the steps to setup the path to the library
files.
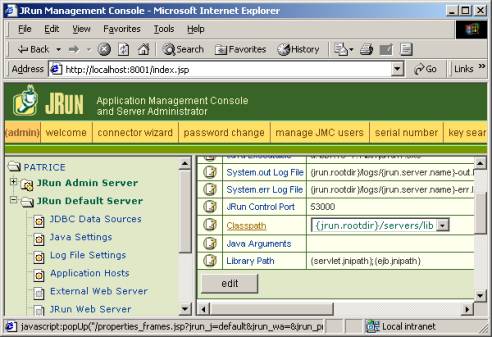
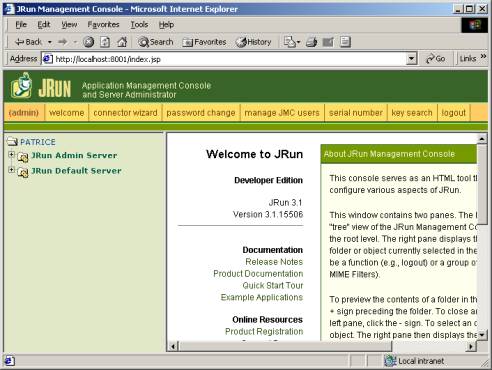
Start the JRun Management Console and enter the password to log in.
Click JRun Default
Server and select Java Settings
in the left panel.
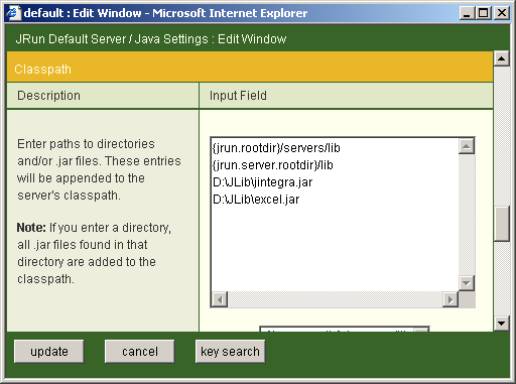
Click Classpath.
Add the path to your jar files in the Input Field. For example if your
jintegra.jar is in D:\Jlib, and your excel.jar is in D:\Jlib, your final
result will look like this:
Resolving Security
J-Integra® can take care of the security issue if it can access one of its native
libraries. All the native libraries of the J-Integra® are resided in bin directory
beneath jintegra directory. JRun allows you to set the path to your native libraries,
so you can use them if you wish. On this section you learn how to setup JRun
to access the native libraries.
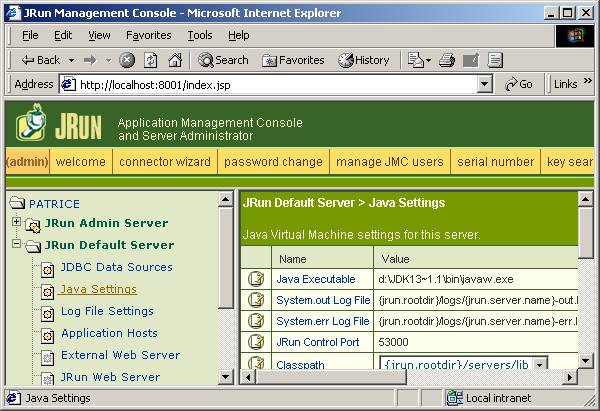
Start the JRun Management Console and enter the password to log in.
Click JRun Default Server and select
Java Settings in the left panel.
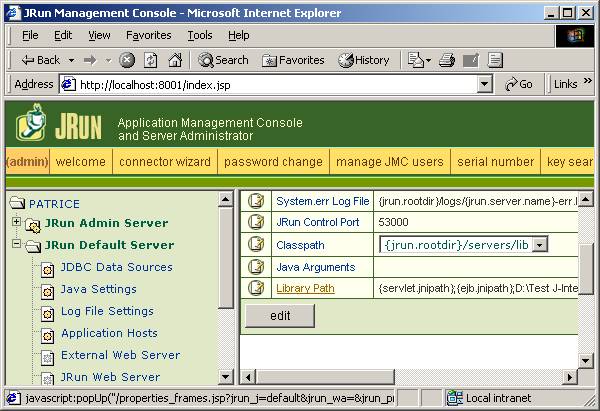
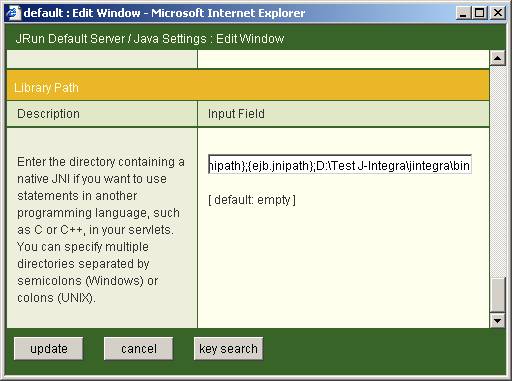
Click Library Path.
Add the path to your native libraries under Input Fields. Remember that
you must add a semi-colon first and then the path. For example, if your
libraries are in D:\Test J-Integra®\jintegra\bin, your final result will
look like this:
Click update. Then, to be safe,
restart your JRun Default Server.
Deploy the example
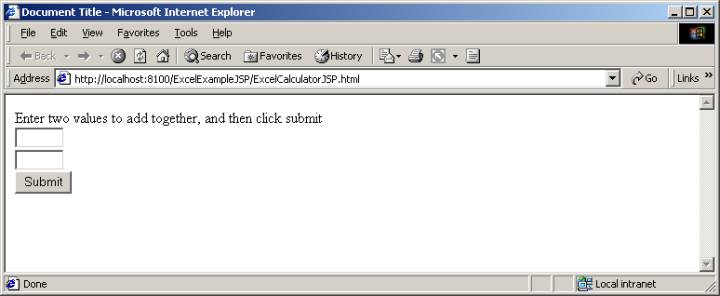
This section explains how you can run the ExcelCalculatorExample.jsp on the
JRun 3.1. The easiest way to deploy a JSP/Servlet in JRun is by having a WAR file
that contains all necessary files. We need ExcelCalculatorExample.jsp, ExcelCalculatorJSP.html,
and the XML descriptor.
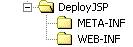
Create the deployment directory: Create a directory and call it DeployJSP.
Create two directories beneath this directory and name them META-INFand
WEB-INF. Now you should have a directory structure that looks like this:
Create the XML descriptor: Here is the sample XML descriptor you can use
to deploy this sample. Save this file as web.xml in the WEB-INF directory.
This file is included in your jintegra\examples\servlet-com\ServletToExcelCalculator
directory (named web.xml for JSP) when you download J-Integra®.
Create a manifest file: Create a file called Manifest.mf (it can be an
empty file). Save this file in the META-INF directory.
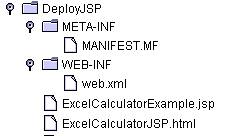
Copy ExcelCalculatorExample.jsp to DeployJSP.
Copy ExcelCalculatorJSP.html to DeployJSP.
After you finished putting these files on the correct place, your directory
structure looks like this:
Now create a WAR file. In the Deploy directory, enter this command:
jar cvf ExcelExampleJSP.war
*.*
We have the WAR file and we can deploy it into JRun Application Server.
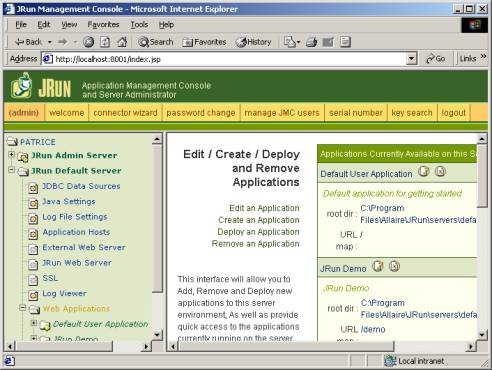
Start the JRun Management Console and enter the password to log in.
Click JRun Default Server. Then
click Web Applications.
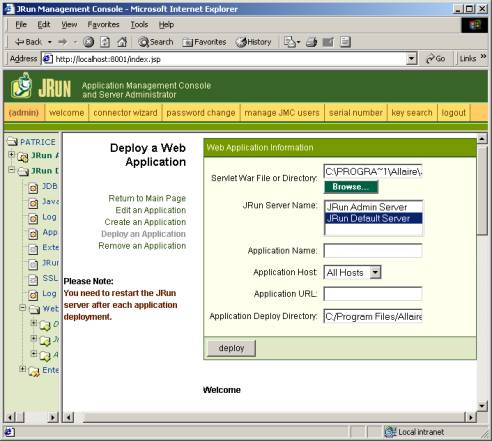
In the right panel, click Deploy an Application.
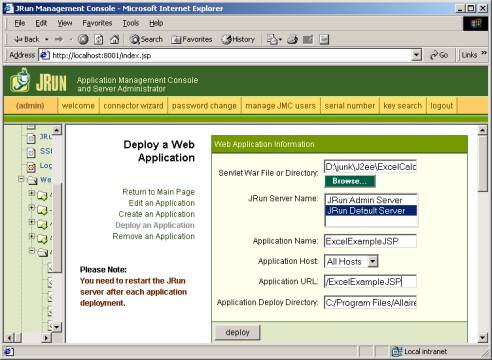
Click the Browse button and select
the WAR file you created in step 8. Type in ExcelExampleJSP as the Application
Name and /ExcelExampleJSP as the Application URL. Do not forget to put /
at the beginning of the Application URL.
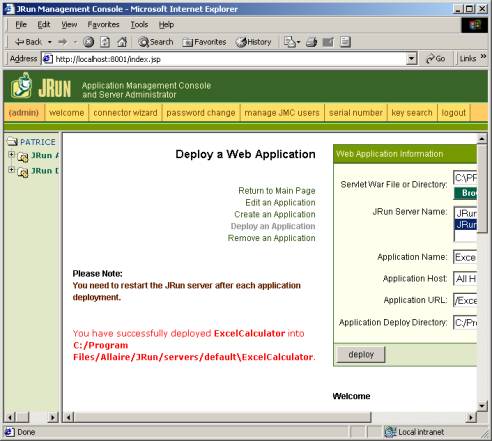
Click the deploy button.
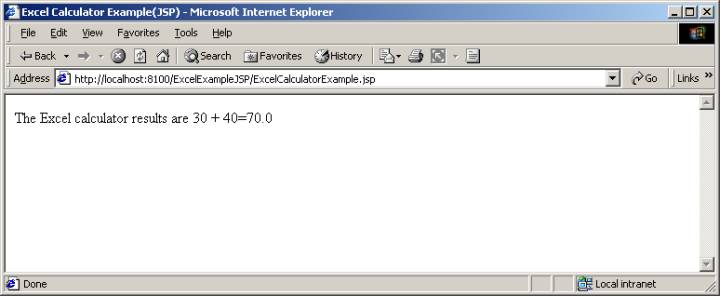
Run the example
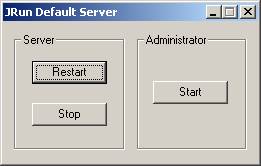
If the deployment was successful, you need to restart the JRun server in
order to use the newly deployed servlet. Double-click on the JRun Default
Server icon on your system tray and click the Restart
button.